Building the ultimate C64
on Tue Feb 21 2017 by Ingo HinterdingA custom acrylic C64 case and some oxy bleaching is all this little C64 needed to shine again and steal the show.
Some days ago I saw this amazing custom case for the C64 and immediately ordered it ( http://plexilaser.de/ ). I decided to put some work into this to make it my main C64, cool enough to sit in the living room.
The custom case is based on a C64C with some modifications.
The acrylic case
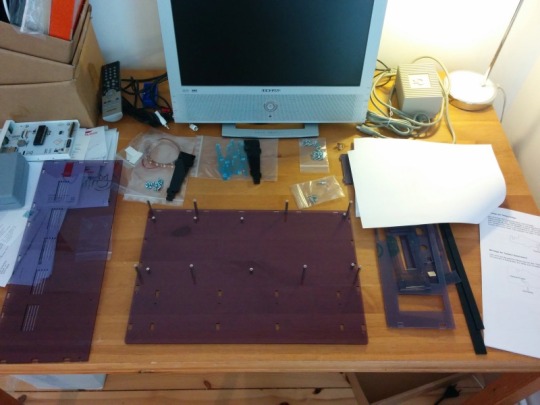
The package looks unspectacular, since you need to assemble everything yourself. But it is very well explained and you can’t do anything wrong.
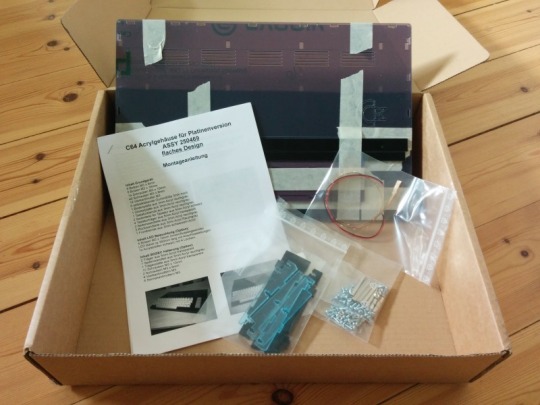
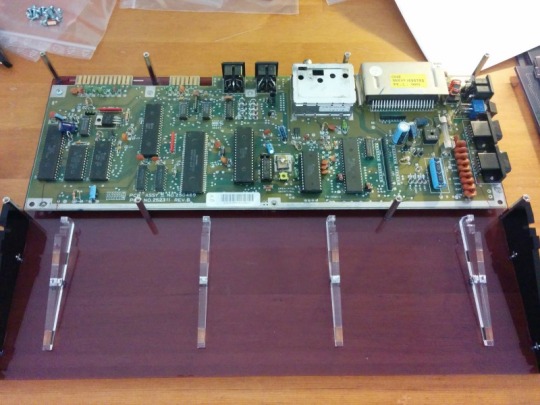
The case is made to house a 469 assy board, which is the slim version of the C64 boards and build into the C64C and G models. Luckily, I have two of these, so I think it’s okay to sacrifice one.
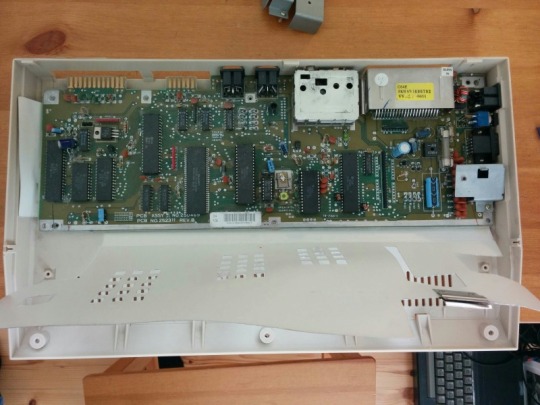
And it really is a sacrifice, because you need to cut off some plastic from the keyboard to make it fit into the slim design of the new case. This means it’s a one way road. Once the plastic is cut off, you can’t assemble the old C64 again as easily. I used a sharp cutter knife. But pay extra attention to not cutting the cables sticking out.

The mainboard was very dusty, but in an otherwise good condition I would say. The seal was never opened so nobody tried to screw with the chips inside.
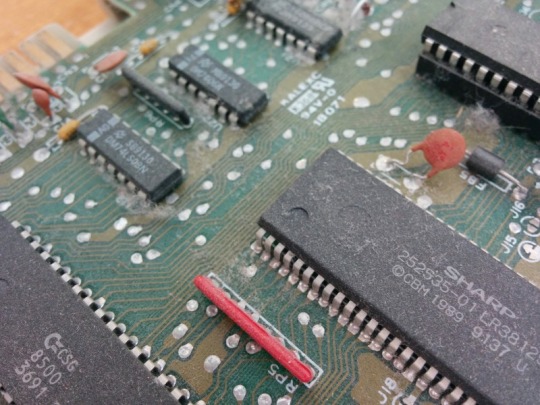
So after some cleaning, the heart of the patient was transplanted into the shiny new body.
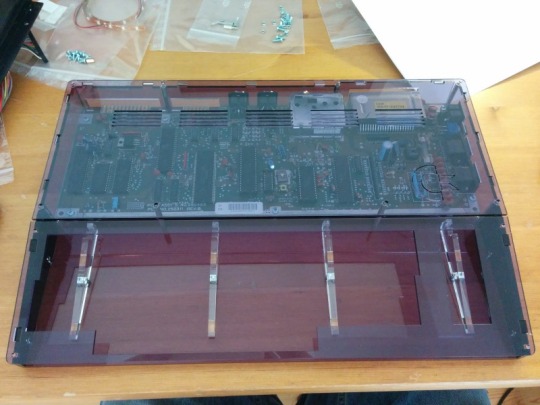
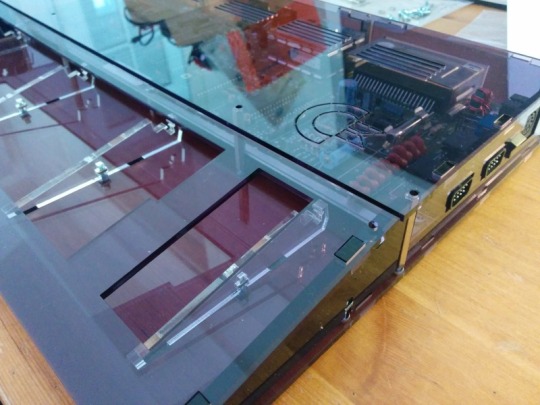
Notice the cool Commodore logo. Micha (or “Lichtmichel” on Forum64), who made those cases, is an amazing guy and part of the offer is that you can actually customize the shit out of this, with colored LED lights and ventilation vents of you design choice. e.g. your name/handle. I went for a more classic option and just wanted that iconic C< in the lower right.
Bleaching with Oxy
Unfortunately, chemicals used on the plastics of most old home computers react to sun light, resulting in many vintage machines turning yellow (german “Gilb”). There’s no way to get this off by cleaning it the usual way.
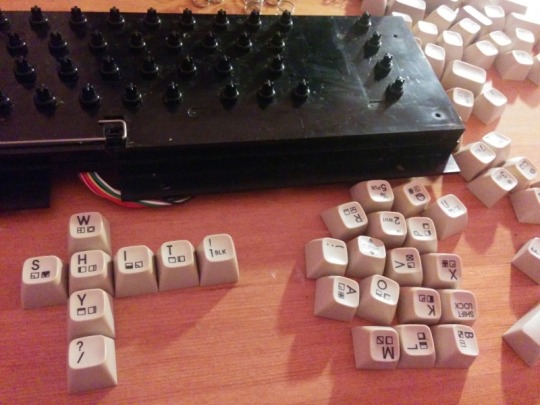
My C64C had the typical signs of its age, all keys are way more yellow than when they were new and the parts that had lots of sunlight show even more yellow. I need to get those clean before building the keyboard into the case.
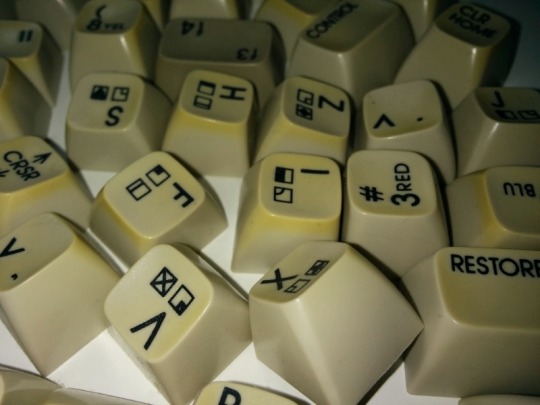
Luckily there are many cleaning products on the market that have some “oxy bleaching” capabilities and this is exactly what you need. First all keys need to be removed from the keyboard. If you do it carefully, it’s not a problem, just lift each keycap softly with a knife, a screwdriver or a spoon.
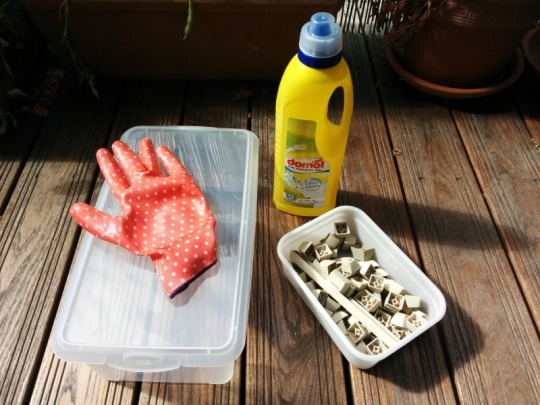
Now the bleaching bath needs to be set up. It’s pretty simple. I’m using a box made out of transparent plastic (they are cheap to get e.g. from Ikea). A water resistant glove is a smart move, too. The oxy product I’m using is called “Domol Oxy Flecken Gel” and costs 1.59 Euro at Rossmann.
Now put the liquid into the box (I actually needed two bottles) and place the key caps into it. The gel is pretty thick, so make sure you get rid of the small bubbles of air inside the key caps or they start to float on the surface. After some time, they will nevertheless. I use two forks to turn them around and push them to the ground again.
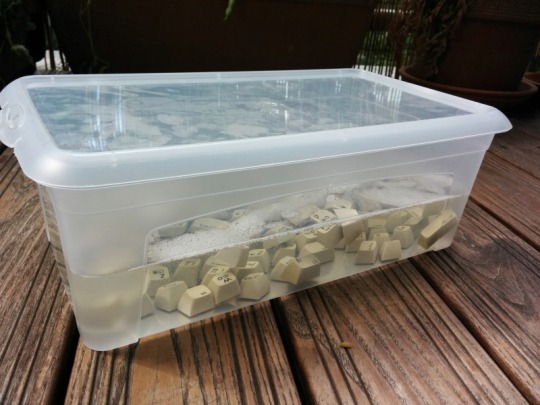
Now put your smelly alphabet soup into the sunlight. The UV-B radiation is an important part of the magic. Everything you need now is some patience. Two days in the sun should be enough. I have one day left to go so let’s see what tomorrow brings.
After two days in the Oxy bath
One day later. Today was very sunny and warm, so the bleaching bath had the best conditions and after some cleaning and drying, this is the result:
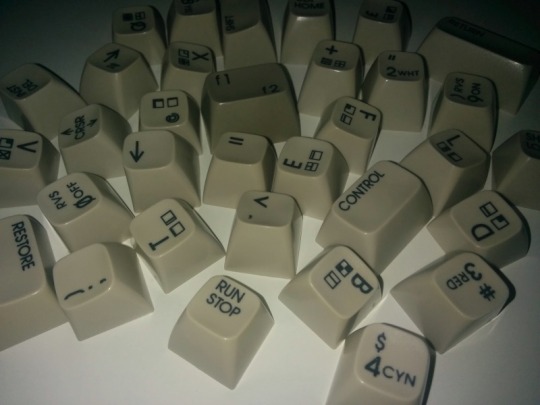
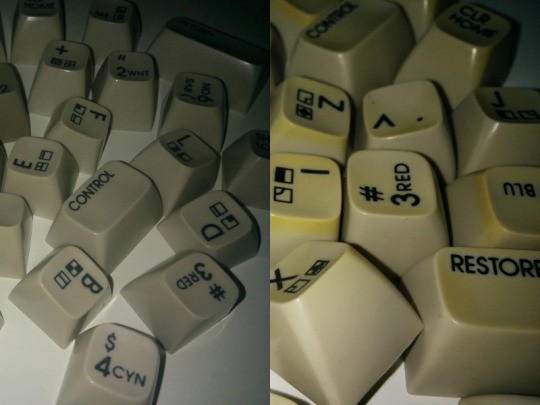
They look almost like new now, really satisfying. If you look hard enough you could still make out fine, subtle yellow lines around the edges of some caps, but if you don’t know you probably wouldn’t realize it. Let’s compare before (right) and after (left):
Really nice.
Now comes the stupid part: Hooked by the effectiveness of the bleaching I went through my computer collection and found a broken Commodore VC20. I completely forgot about the option to choose a different keyboard than the one from the C64C I disassembled for the new case. I must say that I like the dark brown keys of the VC20 a lot, so I need to choose now. In any case, the VC20 keys are in a similar bad condition so I have to bleach them, too.
Sticking to the plan
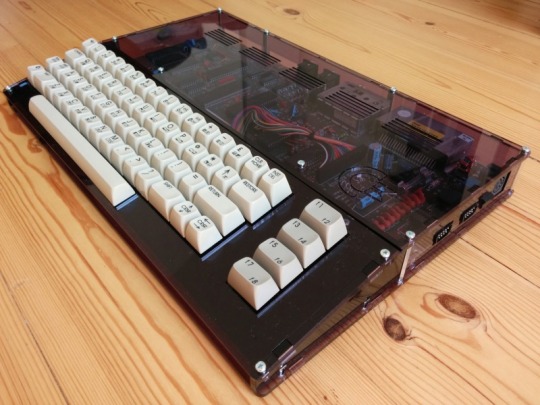
After I disassembled the VC20 keyboard I realized that all keycaps are compatible – except the shift-lock. I don’t want to solder that keyboard to make it fit and I don’t want to cut another one and make it unusable so I decided to go with the white C64 caps as planned. Here’s what it looks like now:
Beautiful.
Two steps are missing before the mission is complete: The keyboard cables are too thick and stick out below, so I have to move them a bit. And the light needs to get connected, which I can only do after all the stuff arrives I ordered online to start me a career in soldering. Stay tuned.
Tiny update: keyboard cables were easy to reposition, expected more trouble. Also glued the front cover (not the top cover!) to the front of the keyboard.
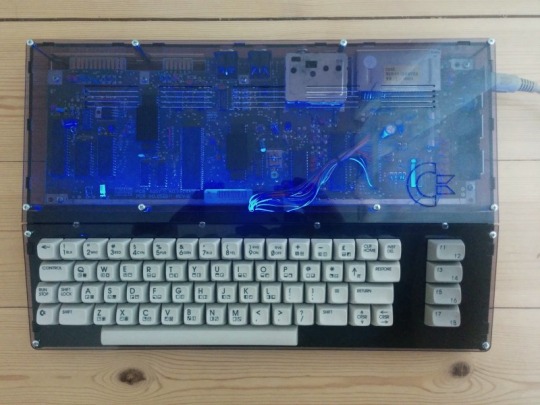
The finished C64
Two cables needed to be soldered to the mainboard for the LEDs and I put heatsinks on the CPU and VIC. Finally – done! Let me know what you think and don’t hesitate to ask if you have any questions.